Ensuring the smooth and safe operation of your home’s electrical system is essential for both your comfort and your safety. Yet, when faced with a malfunctioning circuit breaker, the task of replacing it might seem daunting to many homeowners. However, fear not! With the right knowledge and precautions, replacing a circuit breaker can be a manageable DIY project.
In this comprehensive guide, we’ll walk you through the step-by-step process of replacing a circuit breaker, from identifying the problem to safely installing a new breaker. Whether you’re a seasoned DIY enthusiast or a novice homeowner looking to tackle basic electrical tasks, this guide will equip you with the know-how to address faulty circuit breakers with confidence and ease.
Does a Circuit Breaker Wear Out

Circuit breakers can wear out over time due to various factors such as age, usage, and environmental conditions. Continuous electrical currents passing through the breaker can cause internal components to degrade or malfunction. Additionally, frequent tripping, which occurs when the breaker detects an overload or short circuit, can wear out its internal mechanism.
Furthermore, environmental factors like temperature fluctuations and humidity can also contribute to the deterioration of circuit breakers over time. As circuit breakers age, they may become less reliable and more prone to tripping or failing to trip when needed, potentially compromising the safety of your electrical system.
Regular inspection and maintenance of circuit breakers are essential to ensure their proper functioning and to prevent electrical hazards. If you notice any signs of wear or malfunction, such as frequent tripping, buzzing sounds, or visible damage, it’s important to replace the breaker promptly to maintain the safety and efficiency of your electrical system.
Test the Circuit Breaker

Testing a circuit breaker is an essential step to ensure its proper functioning and identify any issues that may require attention.
Here’s how to test a circuit breaker:
- Visual Inspection: Start by visually inspecting the circuit breaker for any signs of damage, such as burns, cracks, or melting. These visual cues can indicate potential problems with the breaker.
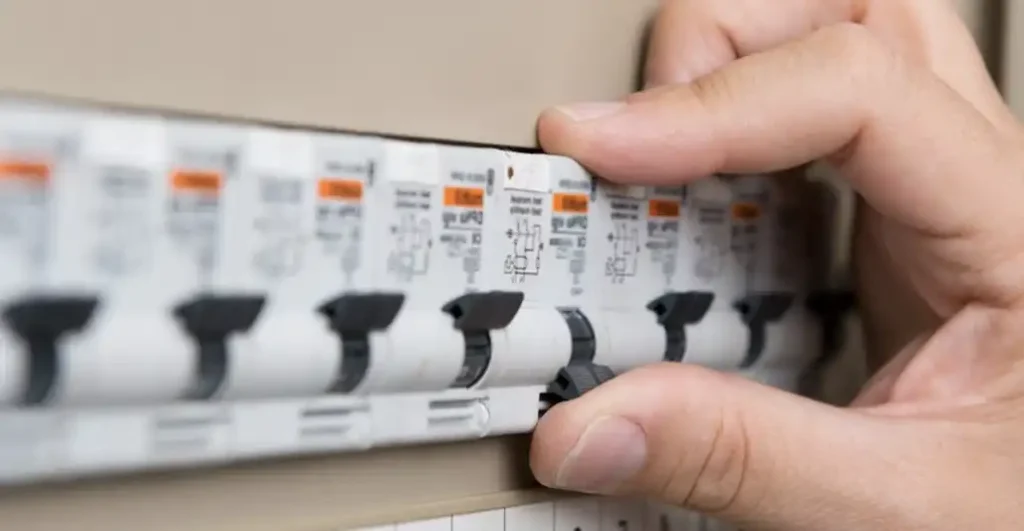
- Load Test: Turn off all appliances and devices connected to the circuit controlled by the breaker. Then, reset the breaker by firmly pushing the switch to the “off” position, then to the “on” position. If the breaker trips immediately or after a short delay without any load connected, it may indicate a fault within the breaker.
- Manual Test: Some circuit breakers have a built-in test button. Pressing this button simulates an overload condition and should cause the breaker to trip. If the breaker fails to trip or does not trip promptly when the test button is pressed, it may be faulty and require replacement.
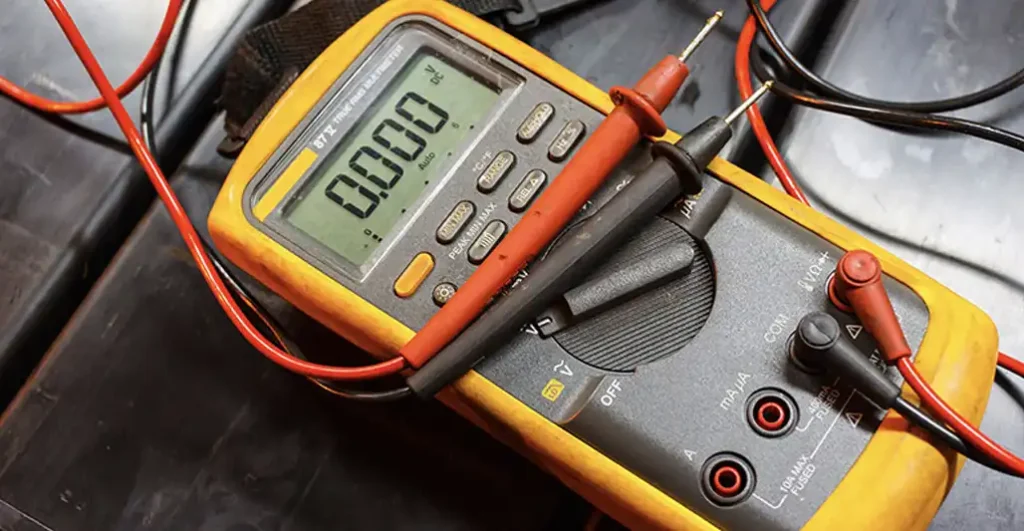
- Voltage Tester: Use a voltage tester to verify that the circuit is de-energized before performing any tests. This ensures your safety during the testing process.
- Professional Inspection: If you’re unsure about testing the circuit breaker yourself or if the breaker exhibits any signs of malfunction, it’s best to seek the assistance of a qualified electrician. They can perform a thorough inspection and testing of the breaker, ensuring its safe and reliable operation.
Regular testing and maintenance of circuit breakers are crucial for preventing electrical hazards and ensuring the safety and efficiency of your electrical system. If you encounter any issues during the testing process or have concerns about the condition of your circuit breakers, don’t hesitate to consult a professional for assistance.
Related:
How to Test Electronic Components? The Ultimate Guide
7+ Methods on How to Test a Capacitor With a Multimeter
When to Replace a Circuit Breaker
You should consider replacing a circuit breaker in the following situations:
- Frequent Tripping: If a circuit breaker frequently trips or fails to reset properly, it may indicate a malfunction or overload. Repeated tripping can weaken the breaker’s internal components, necessitating replacement.
- Visible Damage: Inspect the circuit breaker for signs of physical damage, such as cracks, burns, or melting. Any visible damage could compromise the breaker’s functionality and pose a safety hazard, requiring replacement.
- Age: Circuit breakers have a lifespan, typically ranging from 25 to 40 years. If your circuit breaker is approaching or exceeding its expected lifespan, consider replacing it as a preventive measure to avoid potential failures or malfunctions.
- Overheating: Excessive heat buildup around the circuit breaker or a burning smell coming from the electrical panel could indicate overheating. This may be caused by loose connections, overloading, or internal issues within the breaker, necessitating replacement to prevent fire hazards.
- Obsolete or Incompatible: If you’re upgrading your electrical system or installing new appliances, you may need to replace older circuit breakers with models that are compatible with the updated requirements or technologies.
- Tripping Without Load: If a circuit breaker trips without any appliances or devices connected to the circuit, it could indicate a faulty breaker. In such cases, replacing the breaker may resolve the issue and prevent further disruptions.
- Inadequate Protection: If you’ve added new electrical circuits or appliances that require additional protection, consider replacing existing breakers with higher-rated ones to ensure adequate protection against overloads and short circuits.
- Professional Recommendation: If an electrician inspects your electrical system and recommends replacing a circuit breaker due to safety concerns or performance issues, it’s advisable to follow their advice and replace the breaker promptly.
Regular maintenance and periodic inspections of your electrical system can help identify potential issues with circuit breakers early on, allowing for timely replacement and ensuring the safety and reliability of your electrical system.
How to Replace Circuit Breaker

Replacing a circuit breaker involves ensuring safety measures and precise handling of electrical components.
Here’s a breakdown of what you’ll need and a step-by-step guide:
What You’ll Need:
- New Circuit Breaker: Make sure it’s the correct size and type for your electrical panel.
- Screwdriver: Typically a flathead or Phillips, depending on the panel’s screws.
- Voltage Tester: Essential for verifying that power is off before starting work.
- Safety Gloves and Goggles: Protect yourself from any potential electrical hazards.
Step 1: Turn the Main Power Off:
This step is crucial for safety. By switching off the main power, you ensure that no electricity is flowing through the circuit breaker panel while you work on it. This prevents the risk of electric shock or other accidents.
Warning:
Always treat electricity with caution. Even when the power is off, it’s essential to handle electrical components carefully to avoid accidents.
Step 2: Remove the Breaker Panel Cover Plate:
The cover plate protects the inner workings of the circuit breaker panel. Removing it provides access to the breakers and wiring inside.
Unscrew the screws holding the cover plate in place using an appropriate screwdriver. Set the screws aside in a safe place, as you’ll need them to reattach the cover later.
Step 3: Remove the Old Circuit Breaker:
Locate the faulty circuit breaker that needs replacement. It may be tripped or malfunctioning, causing issues with the electrical circuit it controls.
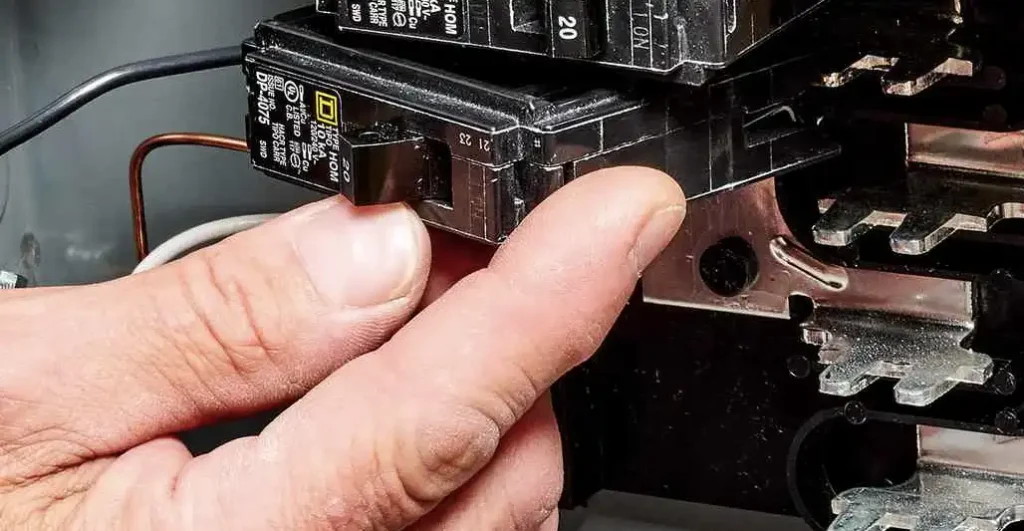
To remove the old breaker, gently pull it out of its slot in the breaker panel. Take care not to force it or damage the surrounding components.
Step 4: Disconnect the Wires:
Once the old breaker is removed, you’ll see wires connected to its terminals. These wires supply electricity to the circuit.
Using a screwdriver, loosen the terminal screws holding the wires in place. Carefully disconnect the wires from the old breaker.
Take note of the wire positions and colors, as you’ll need to reconnect them to the new breaker in the same configuration.
Step 5: Attach the Wires to the New Circuit Breaker:
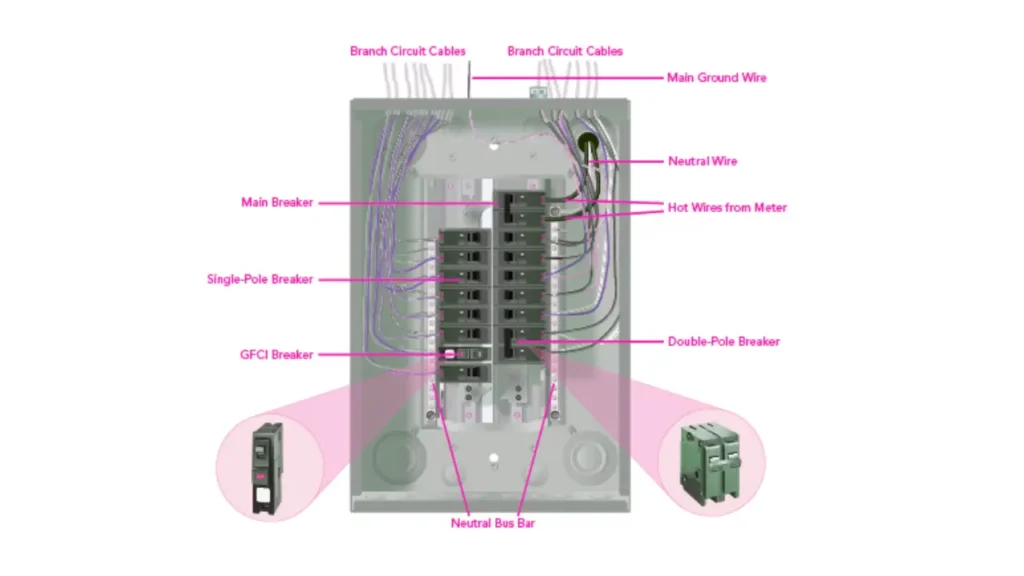
Position the new circuit breaker in the empty slot, aligning it correctly with the bus bar in the panel.
Reconnect the wires to the terminals on the new breaker. Make sure to match the positions and colors of the wires with those from the old breaker.
Tighten the terminal screws securely to ensure a proper electrical connection.
Step 6: Insert the Breaker:
With the wires securely attached, gently push the new circuit breaker into its slot in the breaker panel. Ensure it is seated properly and aligned with the other breakers.
Step 7: Replace the Panel and Turn the Power On:
Once the new breaker is installed, change the cover plate on the breaker panel and screw it into place.
After confirming that all connections are secure, turn the main power switch back on to restore electricity to the panel and circuits.
Test the circuit controlled by the new breaker to ensure it is functioning correctly and there are no issues with the electrical connection.
Following these steps methodically ensures a safe and effective replacement of a circuit breaker, helping to maintain the integrity and functionality of your electrical system. Remember to exercise caution and seek professional assistance if needed.
How Much Does It Cost to Replace Circuit Breaker Box
The circuit breaker box replacement cost, also known as an electrical panel or breaker panel, can vary depending on several factors, including:
Size and Complexity of the Installation: Larger panels with more circuits and greater complexity will generally cost more to replace compared to smaller, simpler panels.
Type of Panel: The type and quality of the circuit breaker box you choose will affect the overall cost. Standard panels may be more affordable, while high-end or specialty panels with advanced features can be more expensive.
Labor Costs: The cost of labor for installation can vary depending on factors such as the location, accessibility of the panel, and the experience of the electrician. In some cases, additional labor may be required for tasks such as rewiring or upgrading electrical connections.
Permit Fees: Many areas require permits for electrical work, including the replacement of a circuit breaker box. Permit fees can vary depending on the location and the scope of the project.
Additional Materials: In addition to the panel itself, other materials such as wiring, breakers, conduit, and mounting hardware may be needed for the installation, which can contribute to the overall cost.
Electrical Upgrades: If the electrical system requires upgrades or modifications to meet current building codes or safety standards, these additional expenses will also factor into the total cost.
As a rough estimate, the cost of replacing a circuit breaker box can range from several hundred to several thousand dollars, with an average cost falling between $500 and $2,000 or more. However, it’s important to obtain quotes from licensed electricians in your area to get a more accurate estimate based on your specific needs and circumstances.
Cost to Replace Circuit Breaker Panel

The cost to replace a circuit breaker panel can vary significantly depending on several factors, including:
- Size of the panel: Larger panels with more circuit breakers will generally cost more to replace.
- Type of panel: Newer panels with advanced features or special certifications may be more expensive.
- Location: Costs can vary depending on your geographic location and the local cost of labor and materials.
- Complexity of the installation: If the installation requires additional work, such as rewiring or upgrading the service entrance, the cost will be higher.
- Permits and inspections: You may need to obtain permits and inspections from your local authorities, which can add to the cost.
In general, you can expect to pay anywhere from $1,000 to $5,000 or more for a complete circuit breaker panel replacement.
It’s important to obtain quotes from multiple contractors to compare prices and ensure you’re getting a fair deal. Additionally, consider the long-term benefits of a new panel, such as increased safety, efficiency, and potential energy savings.
Do I Need an Electrician to Replace a Circuit Breaker
Whether or not you need an electrician to replace a circuit breaker depends on your level of experience with electrical work, the complexity of the task, and local regulations. Here are some factors to consider:
- Experience: If you have experience working with electrical systems and feel comfortable handling electrical components safely, you may be able to replace a circuit breaker yourself. However, if you’re inexperienced or unsure about electrical work, it’s safer to hire a qualified electrician to avoid accidents or damage to your electrical system.
- Safety: Working with electricity can be hazardous, and improper handling of electrical components can lead to shocks, fires, or other safety hazards. Electricians are trained to work safely with electrical systems and have the knowledge and equipment to minimize risks.
- Local Regulations: In many areas, electrical work, including the replacement of circuit breakers, must be performed by a licensed electrician in compliance with local regulations and building codes. Failure to adhere to these regulations could result in fines or other penalties.
- Warranty and Insurance: Hiring a licensed electrician to replace a circuit breaker ensures that the work is done correctly and may come with warranties or guarantees on the workmanship. Additionally, electricians typically have liability insurance to cover any damages or accidents that may occur during the installation process.
- Complexity of the Task: While replacing a circuit breaker may seem straightforward, there can be complexities involved, such as identifying the correct type and size of the breaker, ensuring proper wiring connections, and testing the circuit afterward. If you’re uncertain about any aspect of the task, it’s best to leave it to a professional electrician.
While it’s possible to replace a circuit breaker yourself if you have the necessary skills and knowledge, it’s often safer and more practical to hire a qualified electrician, especially for complex or regulated tasks. A licensed electrician can ensure that the replacement is done correctly, safely, and in compliance with local regulations.
Can I Replace a Circuit Breaker Without Turning Off Power
No, you should never attempt to replace a circuit breaker without first turning off the power. Doing so can be extremely dangerous and could result in serious injury or death.
Here’s why it’s important to de-energize the circuit before replacing a breaker:
- Electrocution risk: Working on a live circuit can expose you to lethal electrical currents.
- Fire hazard: Incorrectly handling a circuit breaker can cause a short circuit or spark, potentially leading to a fire.
- Damage to equipment: Working on a live circuit can damage the breaker or other electrical components.
Always follow these safety precautions:
- Turn off the main breaker: This will de-energize the entire electrical system.
- Verify power is off: Use a voltage tester to confirm that the circuit you’re working on is dead.
- Replace the breaker: Once the power is off, safely remove and replace the faulty breaker.
- Restore power: After replacing the breaker, turn on the main breaker and test the circuit to ensure it’s working properly.
If you’re unsure about how to replace a circuit breaker, it’s best to consult with a qualified electrician.
Conclusion
In conclusion, replacing a circuit breaker is a task that requires careful consideration of safety, expertise, and compliance with regulations. While some individuals can replace a circuit breaker themselves, it’s often safer and more reliable to hire a qualified electrician.
Electricians have the necessary skills, experience, and knowledge to perform the task safely and correctly, minimizing the risk of accidents or damage to your electrical system. Additionally, they can ensure that the replacement is done in compliance with local regulations and building codes.
If you’re unsure about replacing a circuit breaker or have any concerns about your electrical system, don’t hesitate to contact a licensed electrician for assistance. Your safety and the proper functioning of your electrical system are paramount.