Capacitors are fundamental components in electronic circuits, storing and releasing electrical energy when needed. However, like any other electronic part, capacitors can degrade over time or fail unexpectedly, leading to malfunctions or even device damage. So, how to tell if a capacitor is bad?
In this guide, we will explore how to tell if a capacitor is bad, as well as the methods for testing and confirming its condition.
What Is A Capacitor?

A capacitor stores and releases electrical energy in a circuit. It consists of two conductive plates separated by an insulating material called a dielectric. When voltage is applied, electric charge accumulates on the plates, creating an electric field that stores energy. Capacitance, measured in farads (F), determines its charge storage capacity.
Capacitors come in various types and sizes and are used for energy storage, filtering, timing, and voltage regulation in electronic circuits, playing a vital role in device operation.
The Most Common Bad Capacitor Symptoms
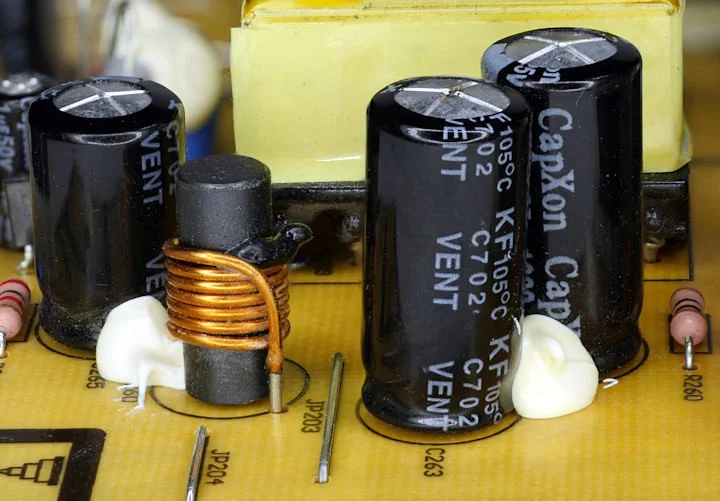
1. Visual Inspection Cues
Bulging or Leaking: Physical swelling or leakage of electrolyte from the capacitor indicates internal pressure buildup or electrolyte degradation.
Corrosion or Discoloration: Visible signs of corrosion, rust, or unusual discoloration on the capacitor’s body or terminals may suggest internal damage.
2. Functional Indicators
Device Malfunction or Erratic Behavior: Capacitor failure can cause electronic devices to behave unpredictably, such as sudden shutdowns, intermittent operation, or failure to power on.
Inconsistent Performance: Capacitors are crucial for stabilizing voltage levels. When faulty, they may result in voltage fluctuations, leading to device instability or failure.
Power Fluctuations: A bad capacitor can cause power supply issues, leading to fluctuations in voltage output, which may manifest as dimming lights, flickering displays, or erratic motor operation.
2. Diagnostic Tools and Equipment
Multimeter Testing: Measuring capacitance with a multimeter can identify capacitors with significantly reduced capacitance or open circuits.
ESR Measurement: Testing Equivalent Series Resistance (ESR) can reveal internal capacitor degradation, especially in electrolytic capacitors.
In-circuit and Out-of-circuit Testing: Both methods offer insights into capacitor health. In-circuit testing evaluates capacitors within the circuit, while out-of-circuit testing allows for more accurate measurements.
By recognizing these symptoms and employing diagnostic techniques, technicians can effectively identify and replace faulty capacitors, restoring the functionality and reliability of electronic devices and circuits. Regular maintenance and inspection can help prevent capacitor-related issues and ensure optimal performance.
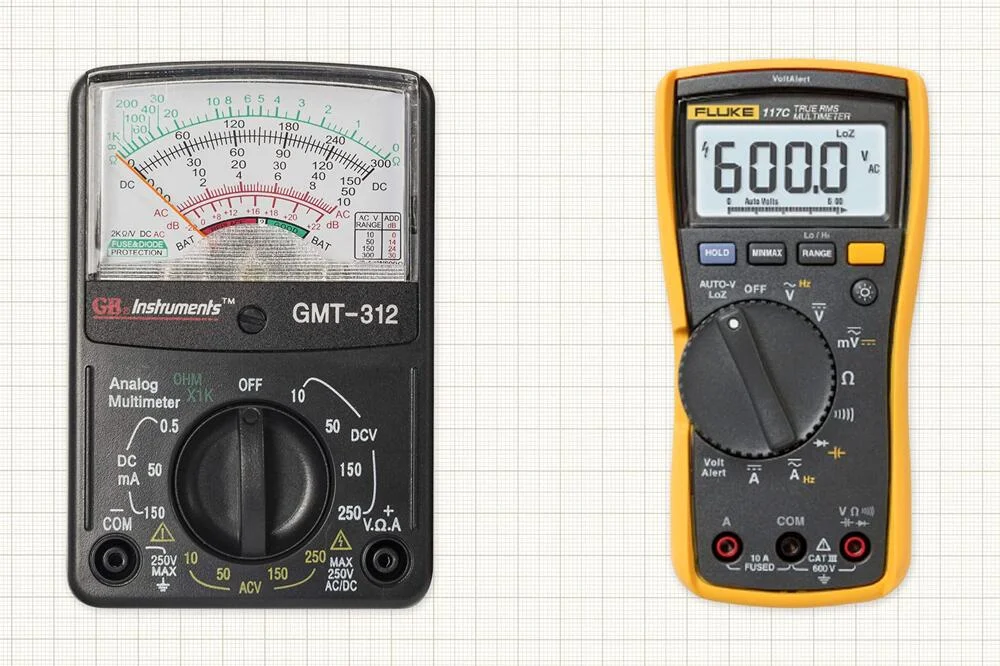
How to Test a Capacitor With A Multimeter?
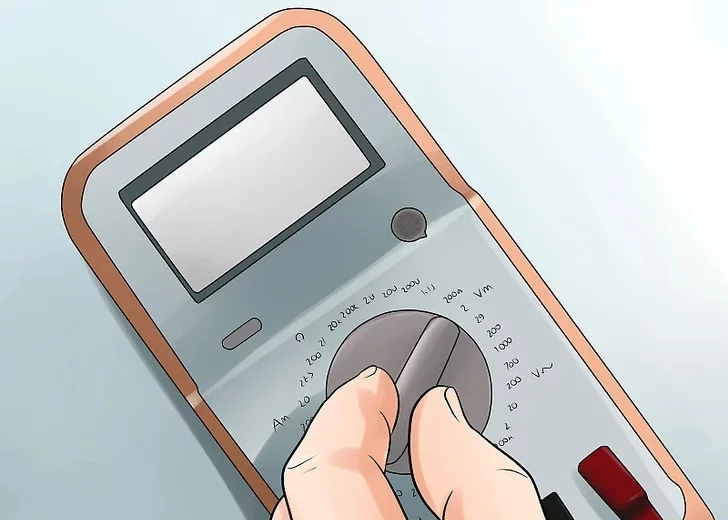
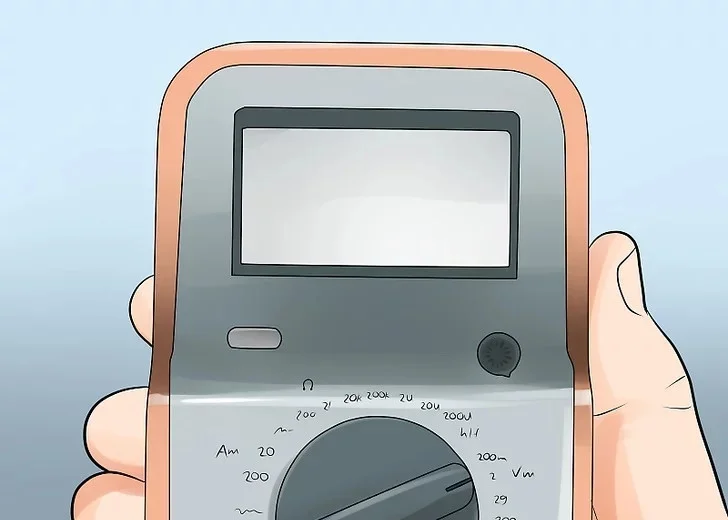
Most digital multimeters include a built-in mode specifically designed for testing capacitor values, as illustrated in Figure 2 (observe the capacitor symbol). This represents the most commonly used method for assessing capacitors. To test a capacitor’s functionality, follow these steps using the capacitance mode on the multimeter
Method 1 Utilize The Capacitance Function On The Multimeter
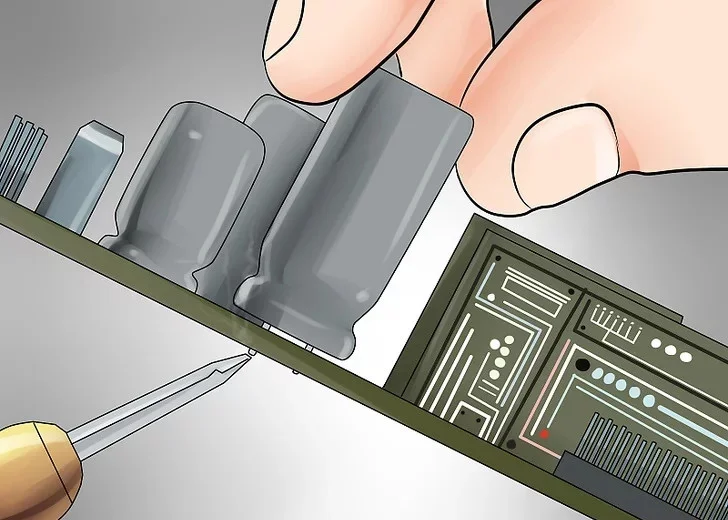
1. Detach the capacitor from the circuit in which it is incorporated.
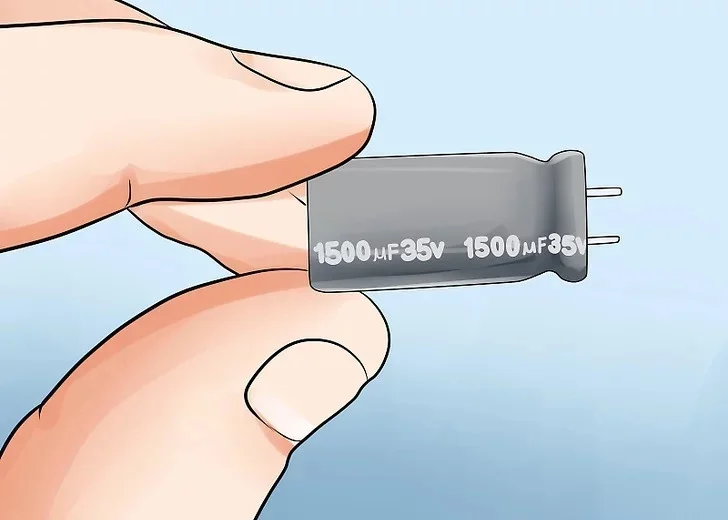
2. Check the capacitance value indicated on the exterior of the capacitor. Capacitance is measured in farads (abbreviated as “F”). You might also encounter the Greek letter mu (µ), resembling a lowercase “u” with a tail in front of it. Since the farad is a relatively large unit, capacitors commonly express capacitance in microfarads (µF), where one microfarad equals one-millionth of a farad.
3. Adjust your multimeter to its capacitance mode. The symbol for capacitance may share a position on the dial with another function.
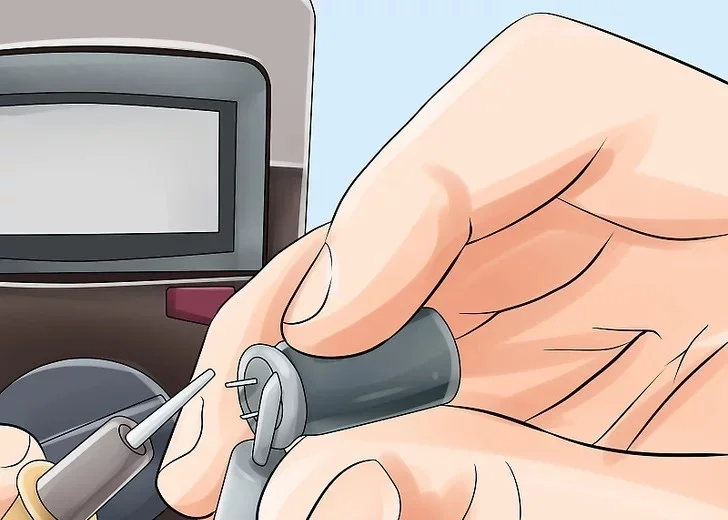
4. Attach the multimeter probes to the terminals of the capacitor. Connect the positive (red) multimeter probe to the anode lead of the capacitor and the negative (black) probe to the cathode lead. (Typically, in most capacitors, particularly electrolytic ones, the anode lead is longer than the cathode lead.) You may need to press a function button to initiate the measurement.
5. Review the reading displayed on the multimeter. If the capacitance reading closely matches the value indicated on the capacitor, the capacitor is functioning properly. However, if the reading is substantially lower than the printed value on the capacitor, or registers as zero, the capacitor is defective.
Method 2 Utilize The Resistance (Ω) Mode On The Multimeter
1. Remove the capacitor from its circuit.
2. Adjust your multimeter to its resistance mode. This setting might be labeled with “OHM” (the unit for resistance) or the Greek letter omega (Ω), representing ohm. If your multimeter features an adjustable resistance range, ensure it is set to 1000 ohms = 1K or higher.

3. Attach the multimeter probes to the capacitor terminals. Once more, connect the red probe to the positive (longer) terminal and the black probe to the negative (shorter) terminal.

4. Monitor the multimeter display for the reading. Optionally, record the initial resistance value. The reading should quickly return to its original value prior to connecting the probes.
5. Disconnect and then reconnect the capacitor multiple times. If the results match those of the initial test, the capacitor is functioning properly. However, if the resistance value remains unchanged throughout all tests, the capacitor is defective.
Method 3 Using An Analog Multimeter
1. Detach the capacitor from its circuitry.
2. Adjust your multimeter to its resistance setting. Similar to the digital multimeter, it might be labeled as “OHM” or indicated by the symbol omega (Ω).
3. Attach the multimeter probes to the capacitor terminals, with the red probe connected to the positive (longer) terminal and the black probe connected to the negative (shorter) terminal.
4. Check the outcomes. Analog multimeters employ a needle to indicate results. The behavior of the needle determines the capacitor’s condition.
As the needle starts with a low resistance value and steadily progresses toward infinity, the capacitor is operational. However, if the needle indicates a low resistance value and remains still, it’s likely that the capacitor has short-circuited and requires replacement.
Moreover, in cases where the needle displays either no resistance value and remains static or a high resistance value and remains static, the capacitor is considered open or faulty.
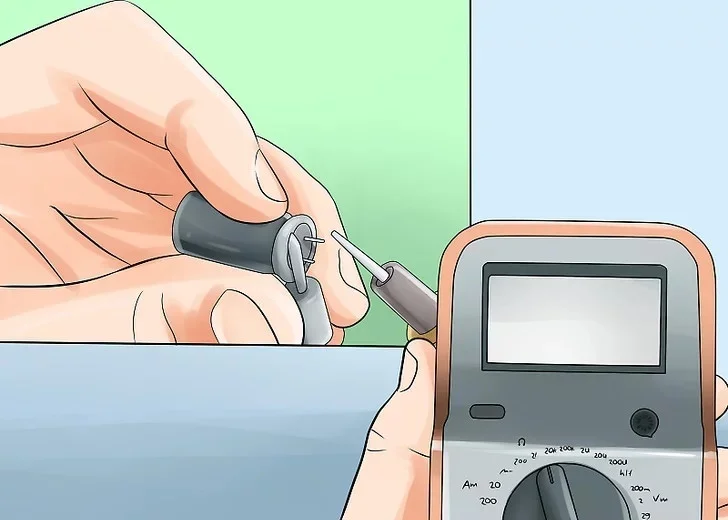
Method 4 Examining A Capacitor Using A Voltmeter
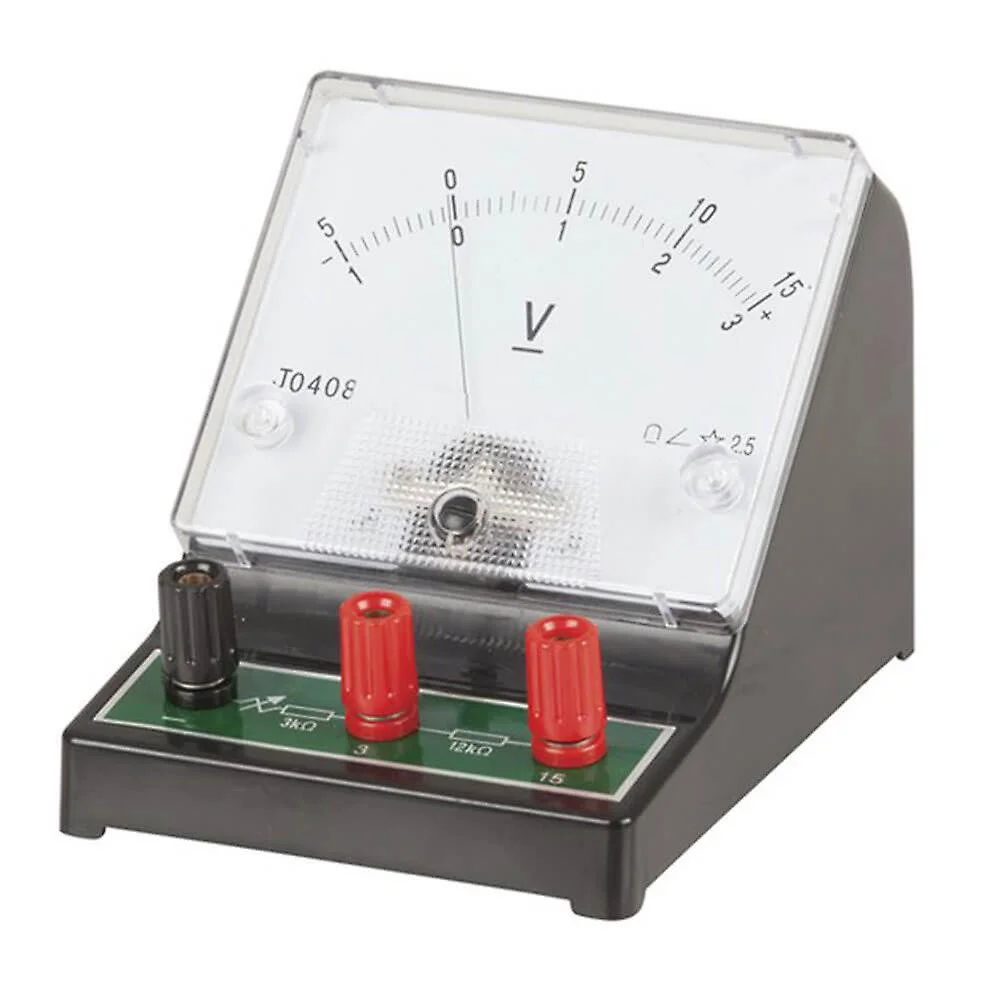
1. Take note of the maximum allowable voltage across the capacitor.
2. Next, charge the capacitor with a voltage lower than the maximum allowed using a power source. For instance, utilizing 3 volts for the capacitor depicted in Figure 3 would be suitable. Ensure to connect the positive terminal of the battery to the longer terminal of the capacitor and the negative terminal to the shorter terminal.
3. Once charged, connect the capacitor leads to the multimeter probes, with the positive terminal linked to the red probe and the negative terminal to the black probe.
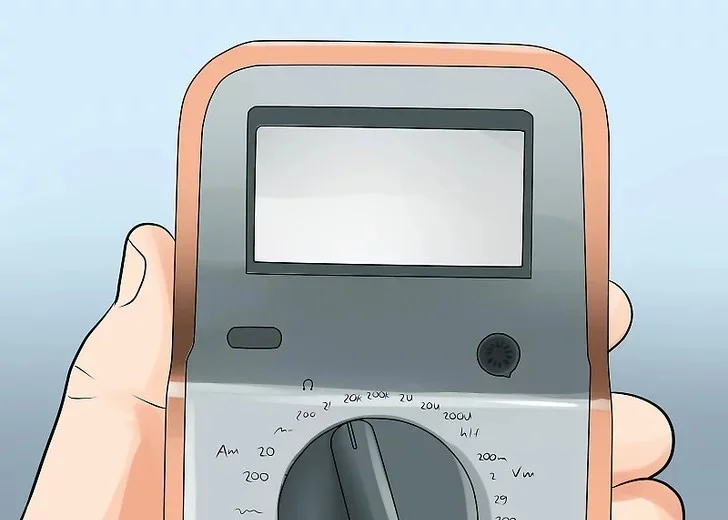
4. Then, adjust the multimeter knob to select the DC voltage range. If the displayed value matches the voltage to which the capacitor is charged, it indicates proper functionality; otherwise, it suggests a fault.
5. Finally, perform the measurement swiftly to prevent capacitor discharge, which can lead to inaccurate readings on the multimeter.
Method 5 Utilize The Continuity Function Of A Multimeter To Inspect The Capacitor
1. First, remove the capacitor to be tested from the electric board. Then, discharge the capacitor completely by connecting it across a resistor, and subsequently remove the capacitor for testing.
2. Next, connect the capacitor leads to the probes of the multimeter, with the positive terminal attached to the red probe and the negative terminal to the black probe.
3. Now, twist the multimeter knob and select the option for continuity check, typically represented by a symbol showing a propagating wave.
4. If the meter emits a continuous beep sound (or the LED turns ON), it signifies a SHORT within the capacitor.
5. Conversely, if the meter remains silent without producing a beep sound, it indicates that the capacitor is OPEN.
6. Lastly, if the meter initially produces a beep sound (or turns the LED ON) and gradually ceases, it suggests that the capacitor is in good condition.
Method 6: Utilize The Time Constant Parameter To Assess The Capacitor
The time constant of a circuit represents the duration it takes for the capacitor to charge to 63.2% of the applied voltage through a known resistor. It is calculated using the capacitor formula: Τ=RC
Τ: Represents the time constant of the circuit, often denoted with the Greek letter tau
R: Denotes the known resistance
C: Signifies the capacitance value present in the circuit
To ascertain the operational status of a capacitor utilizing the time constant as a parameter, follow these steps:
1. Firstly, remove the capacitor to be tested from the electric board. Subsequently, discharge the capacitor completely by connecting it across a resistor, and then remove it for testing.
2. Next, connect a known value of resistance in series with the capacitor. Then, connect the ends of the capacitor to the multimeter probes and set the knob to measure DC voltage.
3. Apply a known voltage (For example, 10V) across the series connection and take note of the voltage displayed across the capacitor on the panel.
4. Utilize a stopwatch to measure the time taken by the voltage to drop to 63.2% of the applied voltage (in this case, 6.32V, as discussed earlier).
5. By employing the relation Τ=RC, manually calculate the value of the capacitor using the time constant Τ and resistance R.
6. Compare the experimental value of the capacitor with the printed value on the same capacitor. If both values are nearly identical, the capacitor is in good condition.
7. However, if there is a noticeable difference between the experimental and printed values, the capacitor is faulty, and it is advisable to replace it.
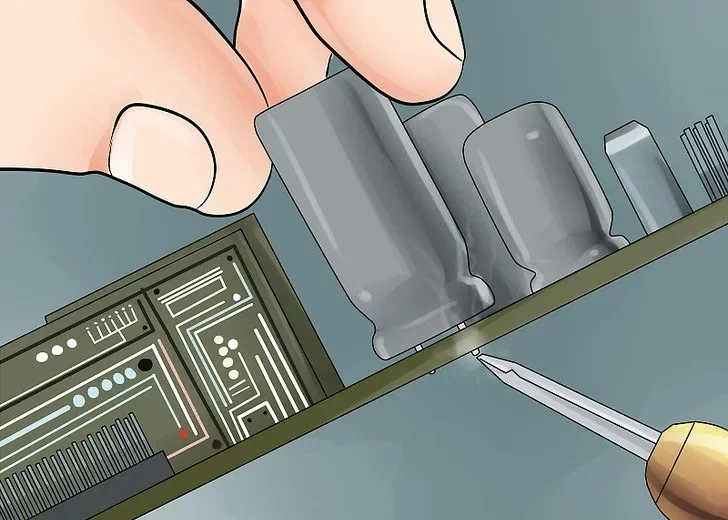
Method 7 Inspect The Capacitor Visually For Any Signs Of Faults
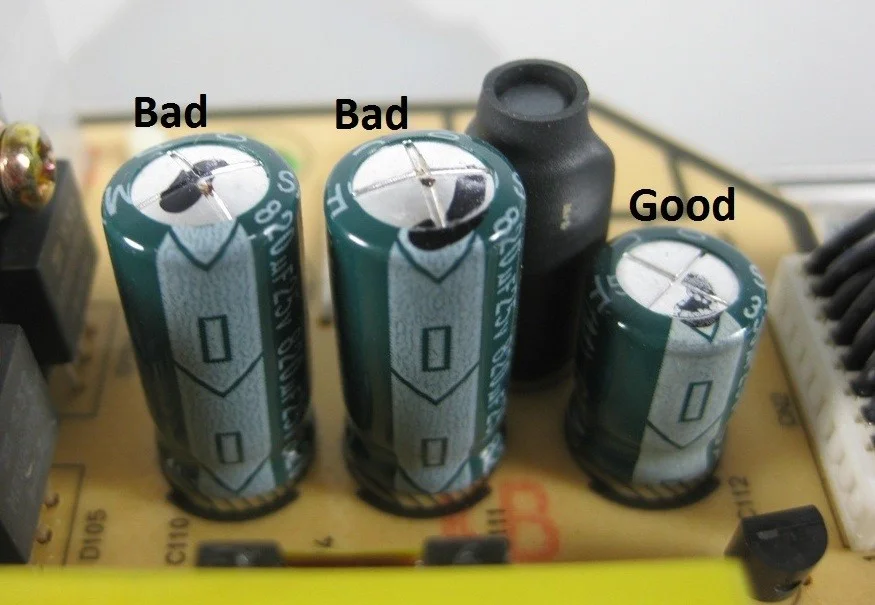
The top vent of the capacitor is bulging. In the event of an electrolytic capacitor failure, pressure is released through weak points at the top vent to prevent damage to nearby components. This discharge results in a gas release and electrolytic discharge that ruptures the top vent, leading to the bulging top.
The bottom of the capacitor is swollen and the case appears raised. When a capacitor fails, if the gas pressure released doesn’t rupture the top vent, it accumulates at the bottom, exerting pressure on the rubber and causing the bulge, consequently lifting the case.
Examining ceramic capacitors and surface-mount devices (SMDs) for faults involves checking for the following indicators:
- Broken terminals
- Burnt, damaged, or cracked casing
Conclusion
Recognizing the signs of a bad capacitor is crucial for maintaining electronic device performance. By conducting visual inspections, using diagnostic tools, and performing proper replacements or repairs, technicians can ensure the reliability and longevity of electronic devices. Regular maintenance and inspection are key to preventing capacitor-related issues and optimizing device performance.