Electronic components play a crucial role in various devices we use daily.
However, there comes a time when you need to remove them, either for repair or recycling purposes. Knowing how to do this properly ensures you can handle such tasks efficiently without causing damage.
In this guide, we’ll explore the process step by step to help you navigate through it smoothly.
Understanding Electronic Components

Before delving into the removal process, it’s essential to have a basic understanding of the electronic components you’ll encounter on circuit boards.
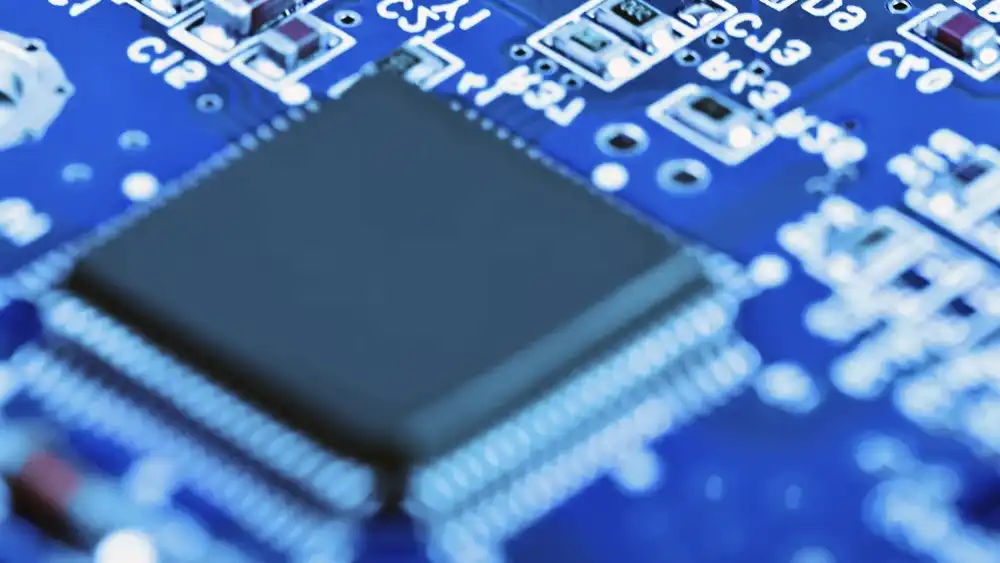
Electronic Components like resistors, capacitors, and integrated circuits have different structures and methods of attachment, which influence how they should be removed.
Preparing for Component Removal
Proper preparation is key to a successful component removal process. This involves gathering the necessary tools such as soldering iron, desoldering pump, and safety equipment like goggles and gloves. Additionally, ensuring the workspace is well-ventilated and free from clutter minimizes risks and facilitates smoother operation.
How to Remove Electronic Components From a Circuit Board

Removing electronic components from a circuit board requires precision and care to avoid damaging the board or the components themselves.
Here’s a step-by-step guide about how to remove electronics components from the circuit board.
Step 1: Identify the Electronic Component
Before removal, identify the component you intend to remove and its surrounding area on the circuit board. This prevents accidental damage to neighboring components.
Step 2: Prepare the Soldering Iron
Heat the soldering iron to the appropriate temperature. Different components may require different temperatures for safe removal.
Step 3: Apply Heat to the Solder
Gently apply the heated soldering iron tip to the solder joints of the component. Heat each joint evenly to ensure the solder melts uniformly.
Step 4: Use a Desoldering Pump or Wick
Once the solder has melted, use a desoldering pump or wick to remove the molten solder from the joints. Be careful not to apply excessive force to avoid damaging the circuit board.
Step 5: Remove the Electronic Component
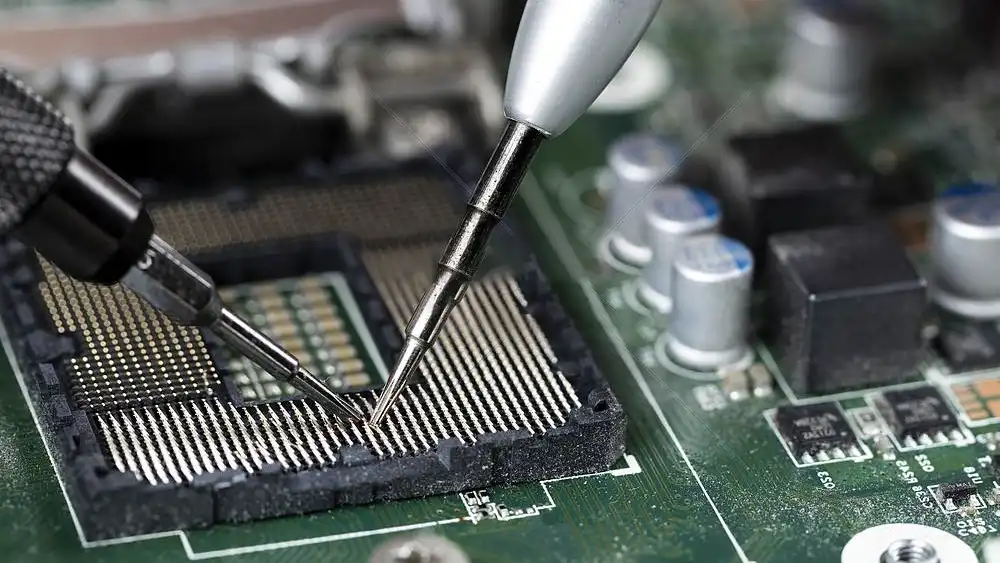
After desoldering, carefully lift the electronic component using tweezers or a soldering iron. Ensure you apply gentle pressure to avoid bending or breaking the component leads.
FAQs
Can I reuse removed electronic components?
Yes, the old electronic components in good condition can be reused in other projects or for repairs to save your cost or budget.
How do I dispose of old components safely?
Old components should be disposed of responsibly to prevent environmental harm to do the damage to the earth. Many electronic stores offer recycling electronic component programs for electronic components.
What safety precautions should I take?
Always wear safety goggles and gloves to protect yourself from potential hazards such as hot solder and sharp component leads.
Can I use a soldering iron to remove all components?
While a soldering iron is suitable for many components, certain delicate components may require specialized tools or techniques for removal.
What should I do if I accidentally damage the circuit board?
If the damage is minor, it may be repairable using soldering techniques. However, extensive damage may necessitate replacing the board.
Is it possible to remove components without a soldering iron?
While a soldering iron is the most common tool for component removal, certain techniques like hot air rework stations or desoldering stations can also be used.
Conclusion
Mastering the art of removing electronic components from a circuit board is a valuable skill for anyone working with electronics. By following the outlined steps and taking necessary precautions, you can safely and effectively remove components for repair, recycling, or experimentation purposes.