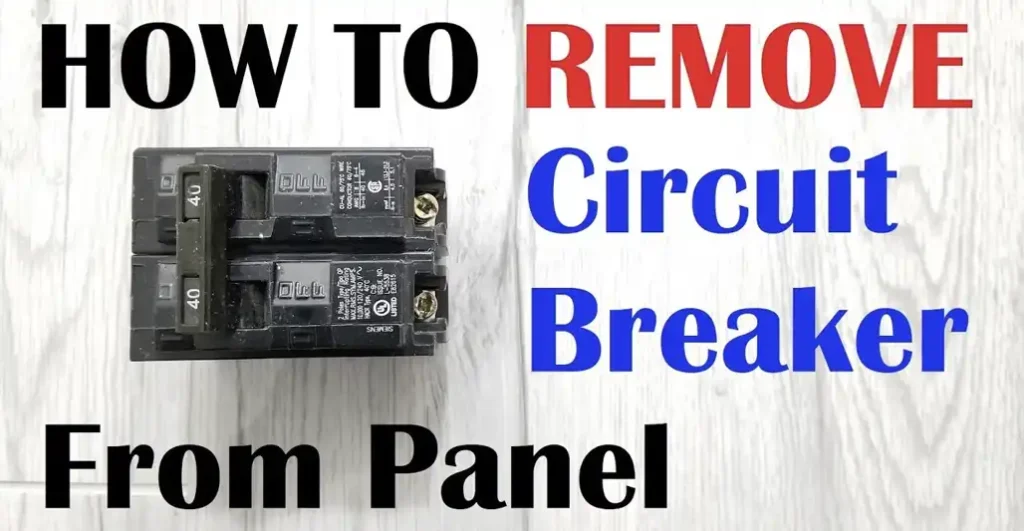
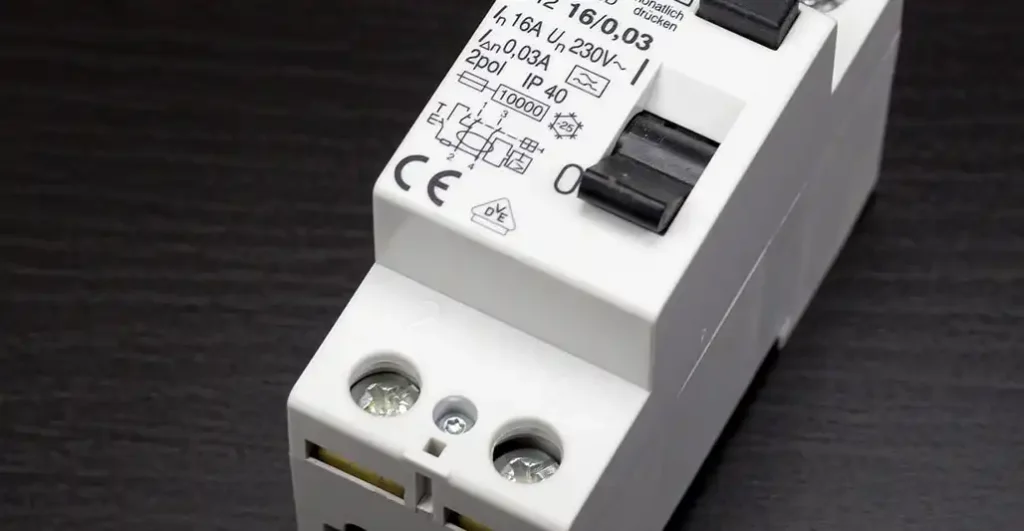
If you’re looking to remove a circuit breaker, it’s important to proceed with caution and follow safety protocols. Circuit breakers are vital components in electrical systems, designed to protect circuits from overloads and short circuits. Whether you’re replacing a faulty breaker or making alterations to your electrical setup, knowing how to remove a circuit breaker safely is essential.
In this guide, we’ll walk through the steps of safely removing a circuit breaker to ensure a smooth and secure process.
How to Remove a Circuit Breaker

let’s delve deeper into each step of removing a circuit breaker:
Turn Off Power: This is the most crucial step for safety. Locate the main breaker in your electrical panel and switch it to the “off” position. This action cuts off power to the entire panel, ensuring that no electricity is flowing through the circuits.
Identify the Circuit Breaker: Take a moment to locate the specific circuit breaker you want to remove. Most breaker panels have labels indicating which breaker controls which circuit. If not, you can use a circuit tracer or multimeter to identify the correct breaker.
Double-Check Power: Although you’ve turned off the main breaker, it’s essential to verify that there is no power running through the circuit you’re working on. Use a non-contact voltage tester to ensure the wires are not energized. Safety should always come first when dealing with electrical work.
Remove the Panel Cover: Using a screwdriver, carefully remove the screws that hold the panel cover in place. Set the cover aside in a safe place where it won’t get damaged.
Locate the Circuit Breaker: Once the panel cover is off, locate the circuit breaker you’re planning to remove. Typically, breakers are held in place by screws or clips. Some panels have a retaining clip that needs to be released before the breaker can be removed.
Disconnect Wires: Using a screwdriver, loosen the screws holding the wires to the circuit breaker terminals. It’s crucial to remember which wire goes to which terminal, so you may want to label them or take a photo for reference later. Take care not to damage the wires or the terminals during this process.
Remove the Circuit Breaker: With the wires disconnected, gently pull the circuit breaker out of its slot. Some breakers may require a slight wiggle to release them from the bus bars. Be careful not to force it, as this could cause damage to the panel or the breaker itself.
Inspect for Damage: Once the breaker is removed, take a moment to inspect it for any signs of damage or wear. Look for cracks, burns, or other visible damage. If the breaker appears to be damaged, it should be replaced rather than reused.
Install a Blank Cover or Replacement Breaker: If you’re not replacing the breaker immediately, install a blank cover over the empty slot to ensure safety. If you’re installing a new breaker, follow the manufacturer’s instructions for proper installation. Make sure it is the correct type and size for your electrical panel.
Reconnect Wires (If Applicable): If you’re installing a new circuit breaker, reconnect the wires to the appropriate terminals. Refer to your earlier notes or photos to ensure the wires are connected correctly. Tighten the screws securely to ensure good electrical contact.
Replace Panel Cover: Once everything is securely in place, reattach the panel cover using the screws you removed earlier. Ensure that the cover is properly aligned and seated to provide protection to the internal components of the panel.
Restore Power: Finally, return to the main breaker and switch it back on to restore power to the panel. Test the circuit to ensure everything is functioning correctly before closing the panel and completing the job.
By following these detailed steps and exercising caution throughout the process, you can safely remove a circuit breaker from your electrical panel. If you’re unsure about any step or encounter any difficulties, it’s always best to seek assistance from a qualified electrician. Electrical work can be hazardous, so safety should always be the top priority.
How to Remove a Circuit Breaker From a Panel Box
Removing a circuit breaker from a panel box requires careful attention to safety and precision. Here’s a step-by-step guide on how to do it properly:
Safety First: Before you start, ensure your safety by wearing appropriate protective gear such as gloves and safety glasses. Also, make sure the area around the panel box is clear and dry.
Turn Off Power: Locate the main circuit breaker in the panel box and switch it to the “off” position. This step cuts off power to the entire panel box, ensuring safety while you work.
Identify the Circuit Breaker: Find the specific circuit breaker you want to remove. Most panels have labels indicating which breaker controls which circuit. If not, you can use a circuit tracer or multimeter to identify it.
Verify Power Cutoff: Even though you’ve turned off the main breaker, double-check that there is no power running through the circuit you’re working on. Use a non-contact voltage tester to ensure the wires are not energized.
Remove the Panel Cover: Use a screwdriver to remove the screws holding the panel cover in place. Gently lift off the cover and set it aside in a safe place.
Locate the Circuit Breaker: Once the panel cover is off, locate the circuit breaker you intend to remove. It’s typically held in place by clips or screws.
Disconnect Wires: Using a screwdriver, loosen the screws holding the wires to the circuit breaker terminals. Take note of which wire goes to which terminal, as you’ll need this information later.
Remove the Circuit Breaker: With the wires disconnected, carefully pull the circuit breaker out of its slot. Some breakers may require a slight wiggle to release them from the bus bars. Avoid using excessive force to prevent damage.
Inspect for Damage: Take a moment to inspect the removed circuit breaker for any signs of damage or wear. If it appears damaged, it should be replaced rather than reused.
Install a Blank Cover or Replacement Breaker: If you’re not replacing the breaker immediately, install a blank cover over the empty slot to maintain safety. If installing a new breaker, follow the manufacturer’s instructions for proper installation.
Reconnect Wires (If Applicable): If installing a new circuit breaker, reconnect the wires to the appropriate terminals. Ensure tight connections to prevent any loose wires that could lead to electrical hazards.
Replace Panel Cover: Once all adjustments are made, reattach the panel cover using the screws you removed earlier. Ensure it fits snugly and securely.
Restore Power: Finally, return to the main breaker and switch it back on to restore power to the panel box. Test the circuit to ensure everything is functioning correctly.
By following these steps diligently, you can safely remove a circuit breaker from a panel box. If you’re uncertain about any step or encounter difficulties, it’s best to seek assistance from a qualified electrician. Safety is paramount when working with electricity.
How to Remove Circuit Breaker From Fuse Box

Removing a circuit breaker from a fuse box (commonly referred to as an electrical panel or breaker panel) involves several careful steps to ensure safety and proper handling. Here’s a detailed guide on how to do it:
- Safety Precautions: Before you start, put on protective gear such as rubber-soled shoes, gloves, and safety glasses. Ensure the area around the fuse box is dry and free of any potential hazards.
- Turn Off Main Power: Locate the main breaker at the top of the panel and switch it to the “off” position. This cuts off power to the entire panel, ensuring that no electricity is flowing while you work.
- Identify the Breaker: Identify the specific circuit breaker you want to remove. Most panels have a directory listing each breaker’s circuit, typically located inside the panel door.
- Double-Check for Power: Even after turning off the main breaker, verify that there is no power running through the circuit. Use a non-contact voltage tester to check the wires connected to the breaker.
- Remove Panel Cover: Use a screwdriver to unscrew and remove the panel cover. Be cautious as you lift it off, as some covers can be heavy or awkward to handle.
- Locate the Breaker: With the panel cover off, locate the circuit breaker you want to remove. It should be easy to spot if the panel is well-labeled.
- Disconnect Wires: Using an insulated screwdriver, loosen the screws holding the wires to the breaker terminals. Carefully pull the wires away from the breaker. Note which wire goes to which terminal for reinstallation purposes.
- Remove the Breaker: Carefully grip the breaker and pull it away from the panel. Some breakers may require you to tilt or wiggle them slightly to release them from the bus bar clips. Avoid using excessive force to prevent damage.
- Inspect the Breaker: Examine the removed breaker for any signs of damage, such as burns or cracks. If the breaker is damaged, it should be replaced rather than reused.
- Install a Blank or New Breaker: If you are not immediately replacing the breaker, install a blank cover over the slot to maintain safety. If you are installing a new breaker, insert it into the slot and ensure it snaps securely onto the bus bar.
- Reconnect Wires (If Applicable): If installing a new breaker, reattach the wires to the appropriate terminals. Tighten the terminal screws securely to ensure a good connection.
- Replace Panel Cover: Once everything is in place, carefully replace the panel cover and secure it with the screws you removed earlier. Ensure the cover is properly aligned and securely fastened.
- Restore Power: Finally, turn the main breaker back on to restore power to the panel. Test the circuit to make sure the new breaker is functioning correctly and that everything is in working order.
By following these steps methodically, you can safely remove a circuit breaker from your fuse box. If you encounter any difficulties or are unsure about any part of the process, it’s best to consult or hire a qualified electrician. Working with electricity can be dangerous, so prioritizing safety is paramount.
Conclusion
By adhering to these steps, you can safely remove and replace a circuit breaker, ensuring the integrity and functionality of your electrical system. Remember, if you are ever unsure about any part of the process, it is best to seek the assistance of a qualified electrician. Your safety and the safety of your home’s electrical system should always come first.