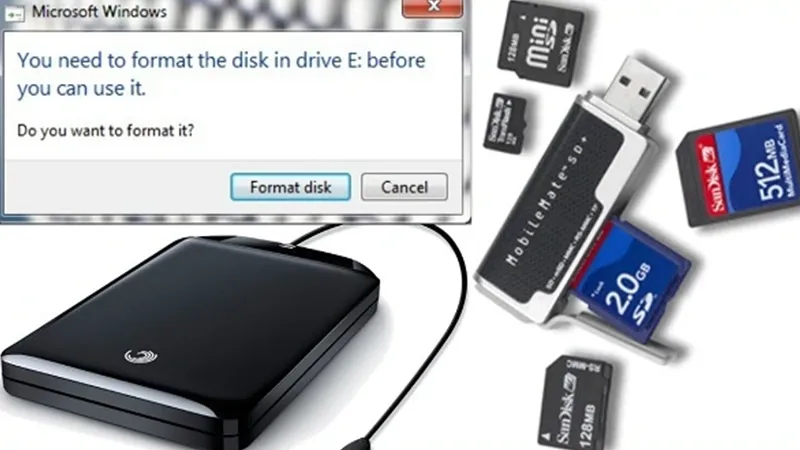
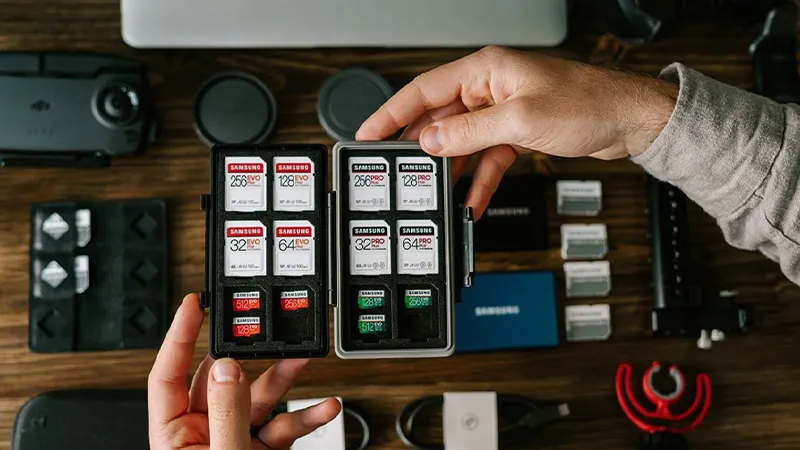
Memory chips, including USB flash drives, SD cards, and internal storage drives, are essential components in modern digital devices. They store critical data and provide the necessary storage space for operating systems, applications, and personal files.
However, over time, these storage devices can become cluttered with unused files, corrupted data, or malware. To restore their optimal performance, formatting the memory chip can be an effective solution.
This comprehensive guide will walk you through the steps to format a memory chip, ensuring your data is properly managed and your device functions efficiently.
Understanding Memory Chips
Before diving into the formatting process, it is crucial to understand the different types of memory chips and their uses:
USB Flash Drives: Portable storage devices that connect to computers via USB ports.
SD Cards: Widely used in cameras, smartphones, and other portable devices for storage expansion.
MicroSD Cards: A smaller version of SD cards, commonly used in smartphones and tablets.
Internal Storage Drives: These include HDDs (Hard Disk Drives) and SSDs (Solid State Drives) used in computers and laptops.
Each type of memory chip has its specific use cases and formatting requirements. Understanding these differences will help you choose the appropriate method for formatting.
Why Format a Memory Chip?
Formatting a memory chip can serve several purposes:
Remove Corrupt Files: Over time, files can become corrupted due to various reasons, such as improper ejection of the device or malware. Formatting removes these corrupted files and restores the memory chip to its original state.
Improve Performance: A cluttered memory chip can slow down the performance of your device. Formatting helps to clear unnecessary files and improve read/write speeds.
Change File System: Different devices require different file systems (e.g., FAT32, NTFS, exFAT). Formatting allows you to change the file system to ensure compatibility with your device.
Prepare for New Data: If you plan to reuse a memory chip for new data, formatting it ensures that all previous data is erased, providing a clean slate.
Backup Your Data
Before proceeding with formatting, it is essential to back up any important data stored on the memory chip. Formatting will erase all data, and without a backup, it will be impossible to retrieve your files. Follow these steps to back up your data:
- Connect the Memory Chip: Insert the memory chip into your computer or use a card reader for SD/microSD cards.
- Copy Files: Open the file explorer and navigate to the memory chip. Select all files and folders, then copy them to a designated backup location on your computer or an external storage device.
- Verify Backup: Ensure that all critical files have been successfully copied before proceeding with the formatting process.
Formatting Methods
There are different methods to format a memory chip, depending on the operating system you are using. This guide will cover formatting on Windows, macOS, and Android devices.
Formatting on Windows
- Insert the Memory Chip: Connect the memory chip to your Windows computer.
- Open File Explorer: Press
Win + Eto open File Explorer and navigate to “This PC” or “Computer.” - Locate the Memory Chip: Find the memory chip under “Devices and drives.”
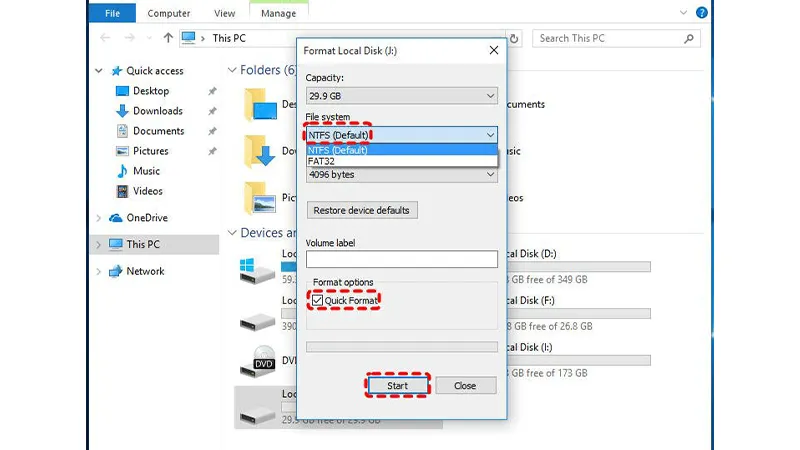
- Right-click and Select Format: Right-click on the memory chip and select “Format.”
- Choose File System: In the format window, select the desired file system (e.g., FAT32, NTFS, exFAT). For SD cards and USB drives, FAT32 is commonly used for compatibility with various devices. NTFS is preferred for internal drives on Windows systems, while exFAT is suitable for larger drives and cross-platform use.
- Set Allocation Unit Size: Leave the allocation unit size as default unless you have specific requirements.
- Quick Format: Check the “Quick Format” option if you want a faster process that skips thorough scanning. For a more thorough format, leave this option unchecked.
- Start Formatting: Click “Start” to begin the formatting process. A warning message will appear, reminding you that all data will be erased. Confirm to proceed.
- Completion: Wait for the process to complete. Once finished, the memory chip will be formatted and ready for use.
Formatting on macOS
- Insert the Memory Chip: Connect the memory chip to your Mac.
- Open Disk Utility: Go to “Applications” > “Utilities” > “Disk Utility.”
- Select the Memory Chip: In Disk Utility, find and select the memory chip from the list of available drives.
- Erase the Memory Chip: Click the “Erase” button at the top of the Disk Utility window.
- Choose Format and Scheme: In the Erase window, select the desired format (e.g., macOS Extended, MS-DOS (FAT), exFAT) and scheme (GUID Partition Map for modern Macs or Master Boot Record for older systems).
- Name the Drive: Enter a name for the memory chip.
- Erase: Click “Erase” to start the formatting process. Confirm any prompts to proceed.
- Completion: Wait for the process to complete. Once finished, the memory chip will be formatted and ready for use.
Formatting on Android
- Insert the Memory Chip: Insert the microSD card into your Android device.
- Open Settings: Navigate to the “Settings” app on your device.
- Storage Settings: Tap on “Storage” or “Device care” (this may vary by device and Android version).
- Select SD Card: Locate the microSD card under “Portable storage” or similar.
- Format Option: Tap the three-dot menu icon or “More” option and select “Storage settings” or “Format” (depending on your device).
- Format SD Card: Tap “Format” or “Erase & format” and confirm any prompts to proceed.
- Completion: Wait for the process to complete. Once finished, the microSD card will be formatted and ready for use.
Choosing the Right File System
| Feature | FAT32 | exFAT | NTFS |
| Compatibility | Widely compatible (Windows, macOS, Linux, older devices) | Compatible with modern devices (Windows, macOS, Linux) | Best for Windows; limited macOS and Linux compatibility without additional software |
| Maximum File Size | 4GB | No practical limit (16EB) | No practical limit (16EB) |
| Maximum Partition Size | 8TB | No practical limit (128PB) | No practical limit (256TB) |
| Performance | Slower with large files | Optimized for large files | High performance with large files |
| File Permissions | None | None | Full support |
| Security Features | None | None | Encryption, compression, quotas |
| Best Used For | USB drives, SD cards, older devices | External drives, flash drives, cross-platform | Internal drives, Windows system drives, large file storage |
Choosing the right file system is crucial for ensuring compatibility and performance. Here are the common file systems and their use cases:
- FAT32: Widely compatible with most devices, including Windows, macOS, Linux, and older devices. However, it has a 4GB file size limit and a maximum partition size of 8 TB.
- exFAT: An extension of FAT32 without the 4GB file size limit. Suitable for larger drives and cross-platform use. Compatible with modern devices but may require additional drivers on older systems.
- NTFS: Preferred for internal drives on Windows systems. Supports larger file sizes and partitions, along with advanced features like file permissions and encryption. Limited compatibility with macOS and Linux without additional software.
- macOS Extended (HFS+): Optimized for macOS systems. Supports larger file sizes and partitions, along with advanced macOS features. Limited compatibility with Windows without additional software.
Troubleshooting Formatting Issues
Formatting a memory chip is usually straightforward, but issues can arise. Here are some common problems and their solutions:
- Memory Chip Not Recognized: Ensure the memory chip is properly connected. Try using a different port or card reader. Check for driver updates or restart your device.
- Error Messages During Formatting: If you encounter error messages, try a different formatting method or tool. For persistent issues, consider using third-party software like EaseUS Partition Master or Disk Management tools.
- Slow Formatting Process: Uncheck the “Quick Format” option for a thorough format, but be prepared for a longer process. If the formatting is unusually slow, the memory chip may be damaged or have bad sectors.
Maintaining Your Memory Chip
After formatting your memory chip, maintaining it properly ensures longevity and optimal performance. Here are some tips:
- Safely Eject Devices: Always use the “Safely Remove Hardware” option before disconnecting your memory chip to prevent data corruption.
- Regular Backups: Regularly back up your data to prevent loss due to corruption or hardware failure.
- Avoid Physical Damage: Handle memory chips with care to avoid physical damage that can render them unusable.
- Keep Software Updated: Ensure your device’s operating system and drivers are up-to-date to maintain compatibility and performance.
Conclusion
Formatting a memory chip is a simple yet powerful tool to maintain and optimize your storage devices. Whether you’re dealing with corrupted files, preparing for new data, or ensuring compatibility with different devices, this guide provides a comprehensive approach to formatting on various platforms.
By understanding the types of memory chips, choosing the right file system, and following the appropriate steps for your operating system, you can ensure your memory chip performs at its best. Always remember to back up your data before formatting to prevent any loss of important files.